| 
| 
|
Almost certainly, you're familiar with green screening, where a plain green background is replaced with some other image. The most common example is weather maps on the news - you'll never see a weather person wearing green clothes, or they would disappear.
In this project, we're going to do some green screening, combining a background from one picture with a foreground from another.
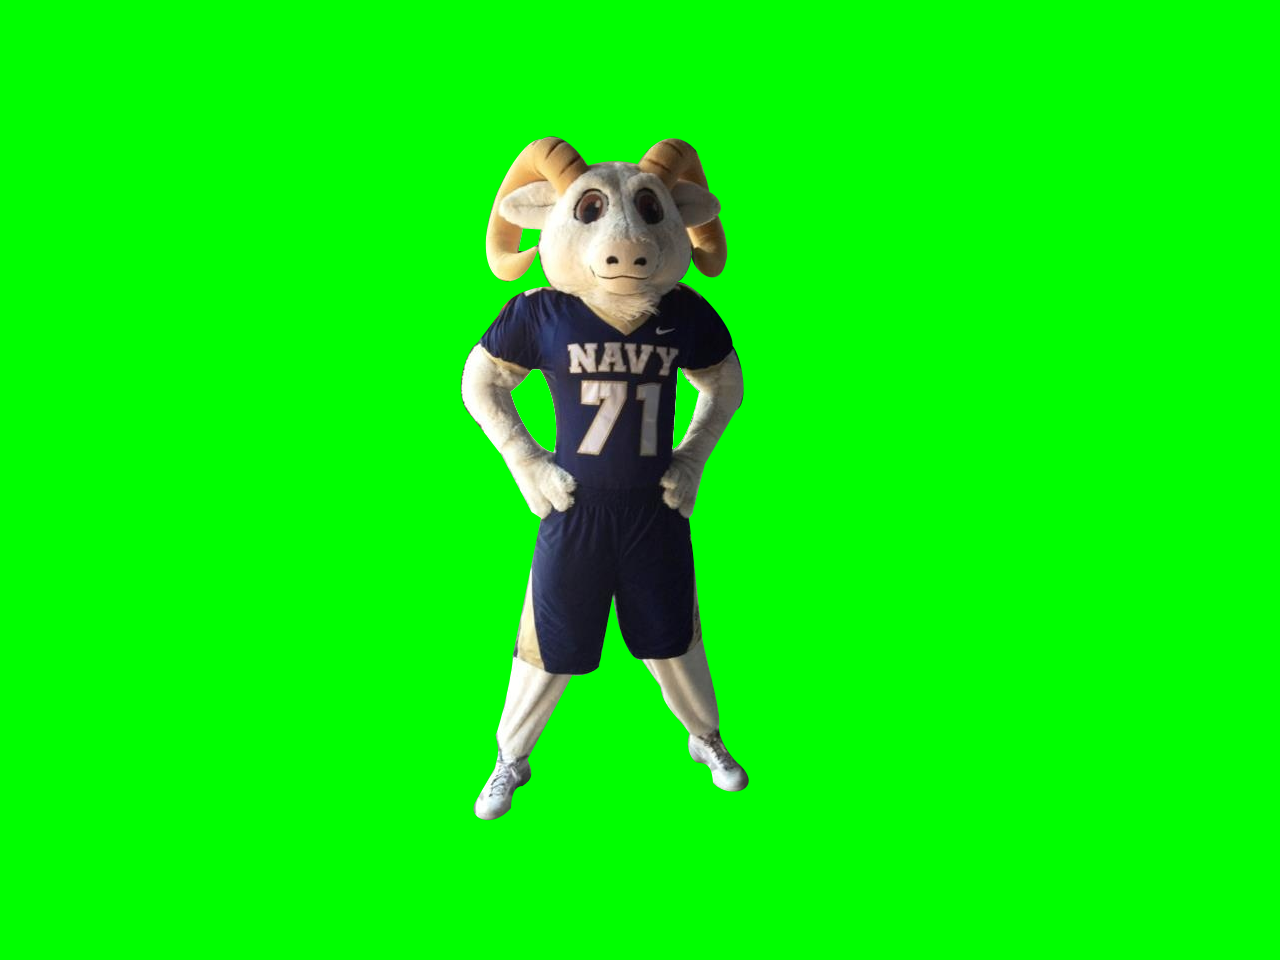
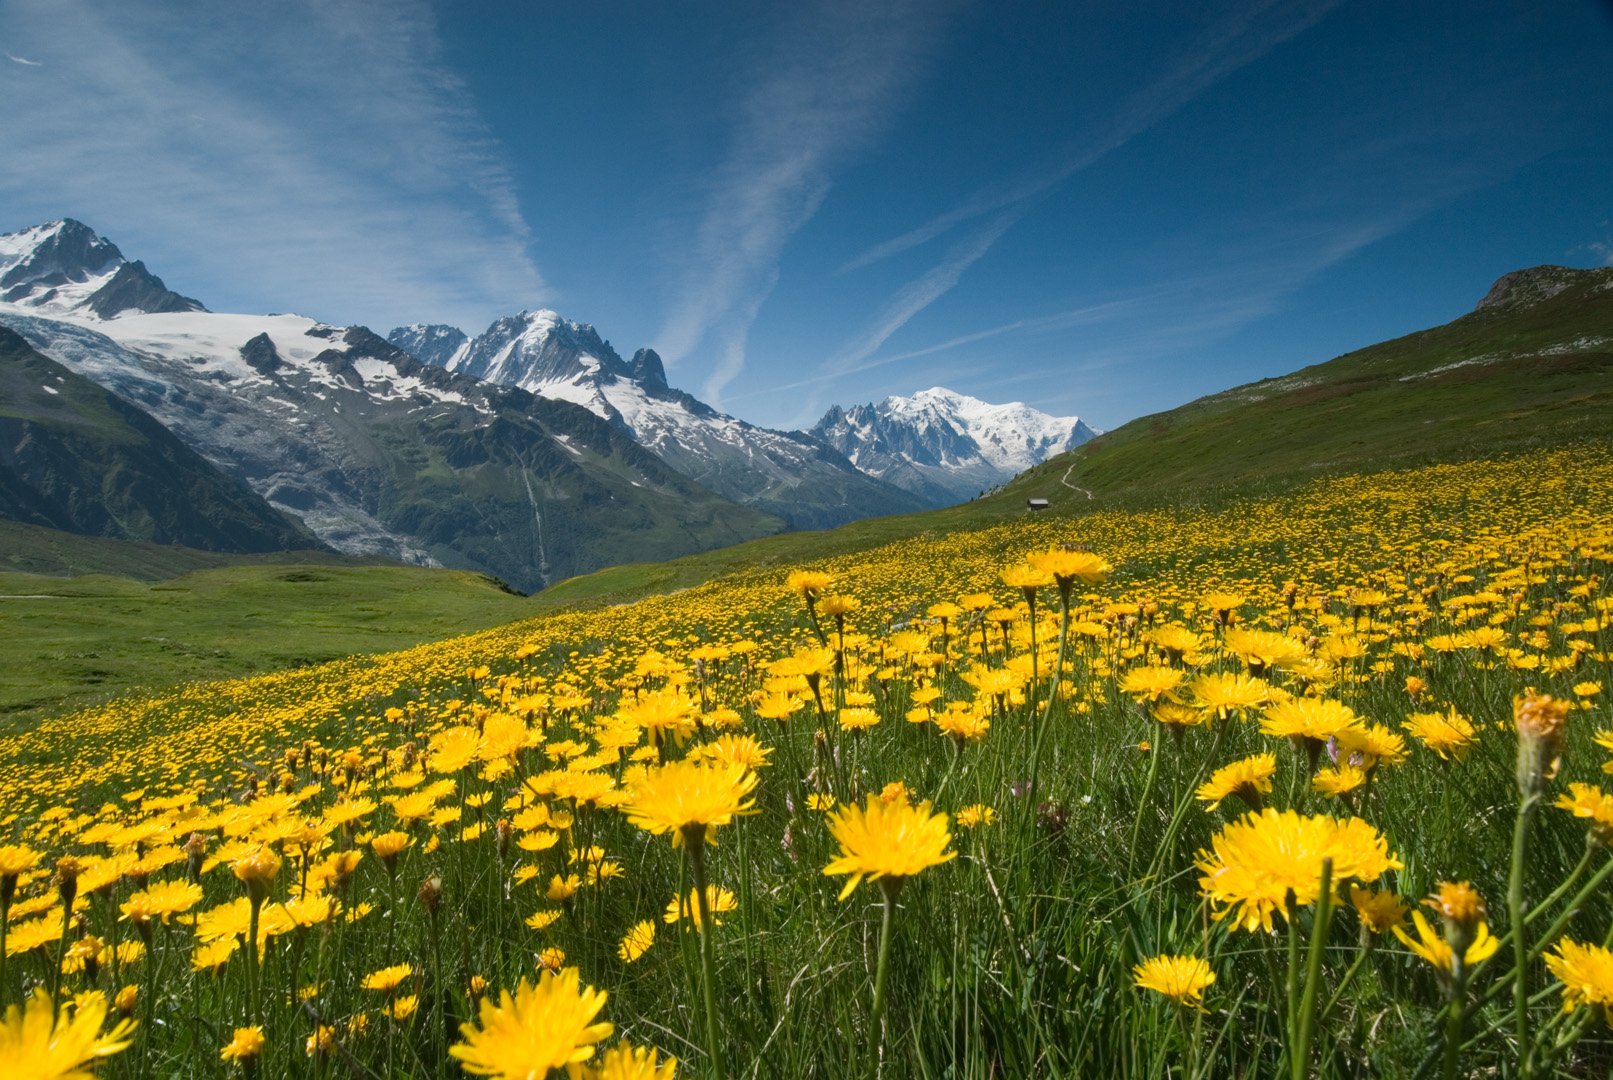
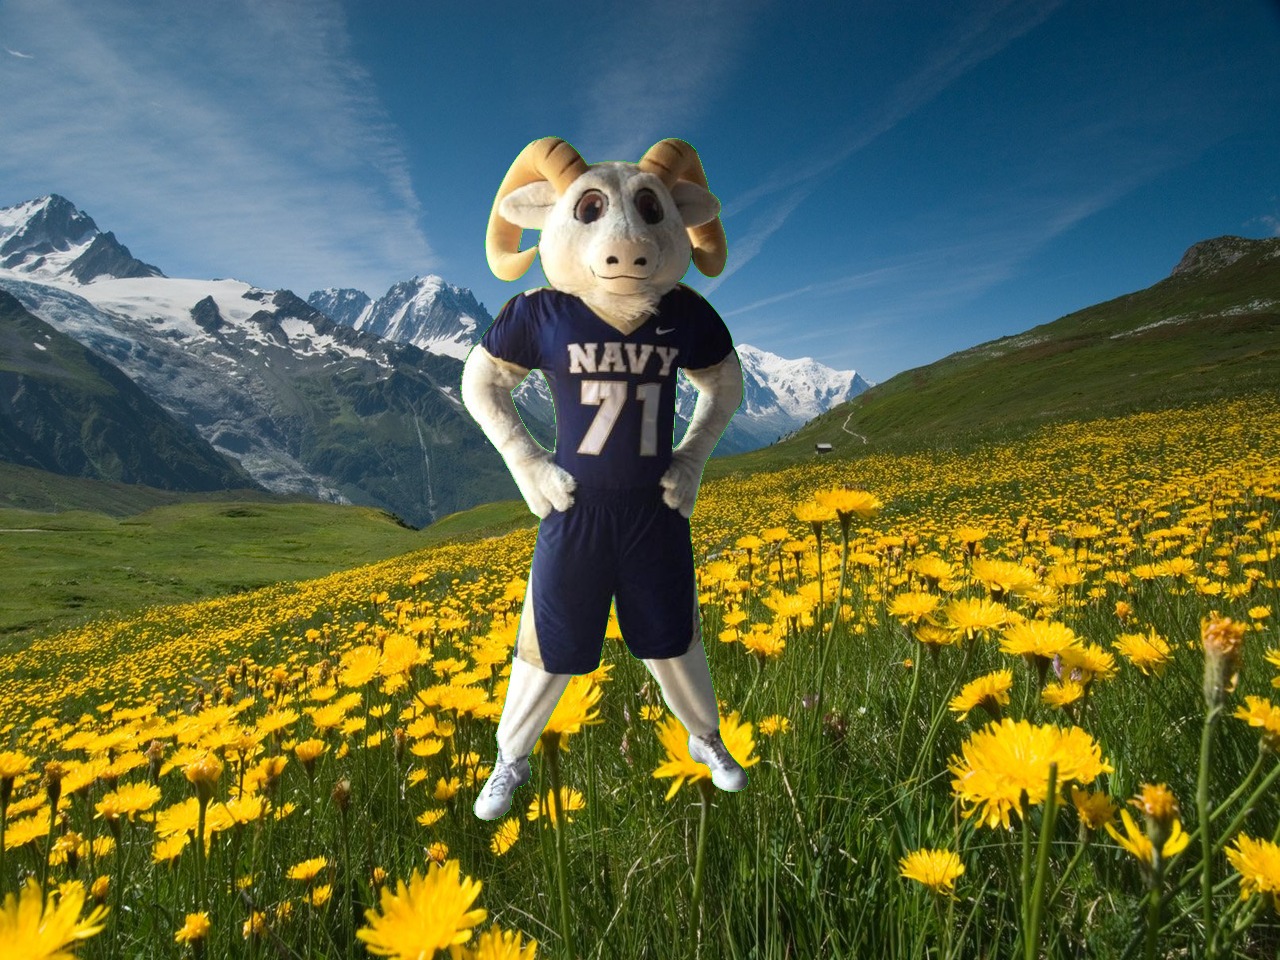
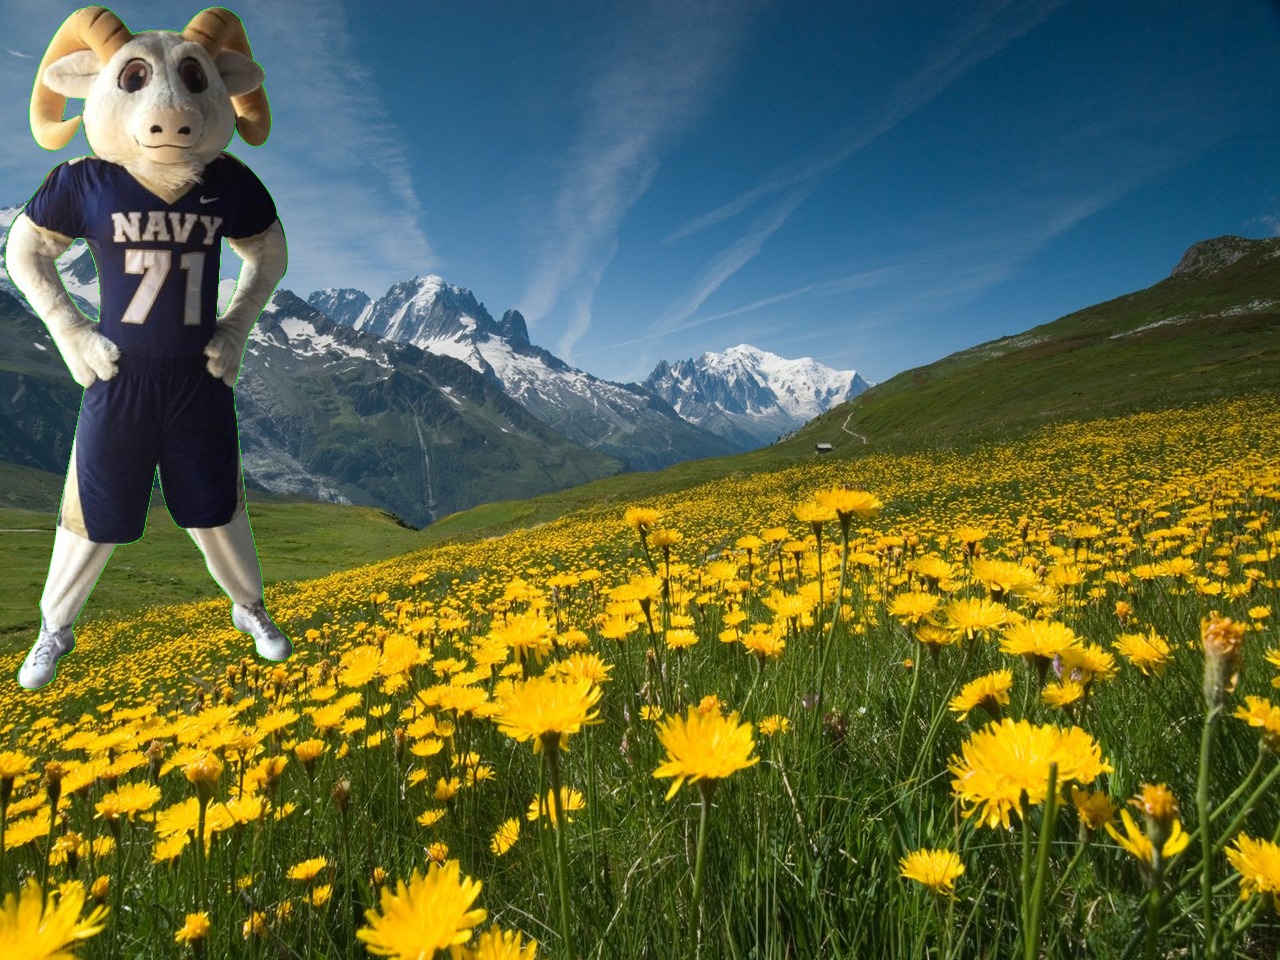
For example, consider a picture of Bill the Goat (on the left below). He deserves to be someplace nice. So, for every pixel that is green, we'll replace it with the corresponding pixel from the image in the middle below, giving us the image on the right below.
|
|
|
|
To do this, we're going to use a horribly space-inefficient file format called "plain PPM." Here is a bunch of ppm images for download. Untar the images with the command
tar xzf ppms.tgzP3
1280 960
255
0 255 0 125 255 5 0 255 0...P3 is the "magic number" or file header,
that tells the computer what the format is (remember this from SY110?).
Every PPM file must be in this format. To view a PPM image on your Linux machine, use the command:
eog thepicture.ppm20% of your grade will be based on coding style, which includes:
All of this is factored into your maximum score based on which part you have completed. So for example, if you complete up to part 2 perfectly (i.e., 85/100) working and also get 15/20 on style, then your final grade would be 85 * (0.80 + 0.15) = 80.75.
For this project, you have explicit permission
If you have questions about any of these rules, email your instructor and ask about it. We know you want to do what's right and we are here to help you.
Online: use the online submit system. Each part below has instructions on the command to run. You must turn in ALL parts up to the last part you completed. If you finish Part 3, you must submit your code for all parts before it too.
Hardcopy: you must print all your code with codeprint. You must also print and turn in the project coversheet to your instructor. The coversheet and code must be stapled, and turned in to your instructor by the following day after online code submission.
To get used to the PPM format, let's not worry about greenscreening yet and just make an image grayscale (black and white).
gray.cpp:
 Instruction: To find the gray value of a pixel, take the r, g, and b values,
find the max of those three values, and set all three values
to that maximum number. So, the gray version of (5, 100, 16) would be (100, 100, 100). The gray version of (250, 80, 90) is (250, 250, 250).
Instruction: To find the gray value of a pixel, take the r, g, and b values,
find the max of those three values, and set all three values
to that maximum number. So, the gray version of (5, 100, 16) would be (100, 100, 100). The gray version of (250, 80, 90) is (250, 250, 250).
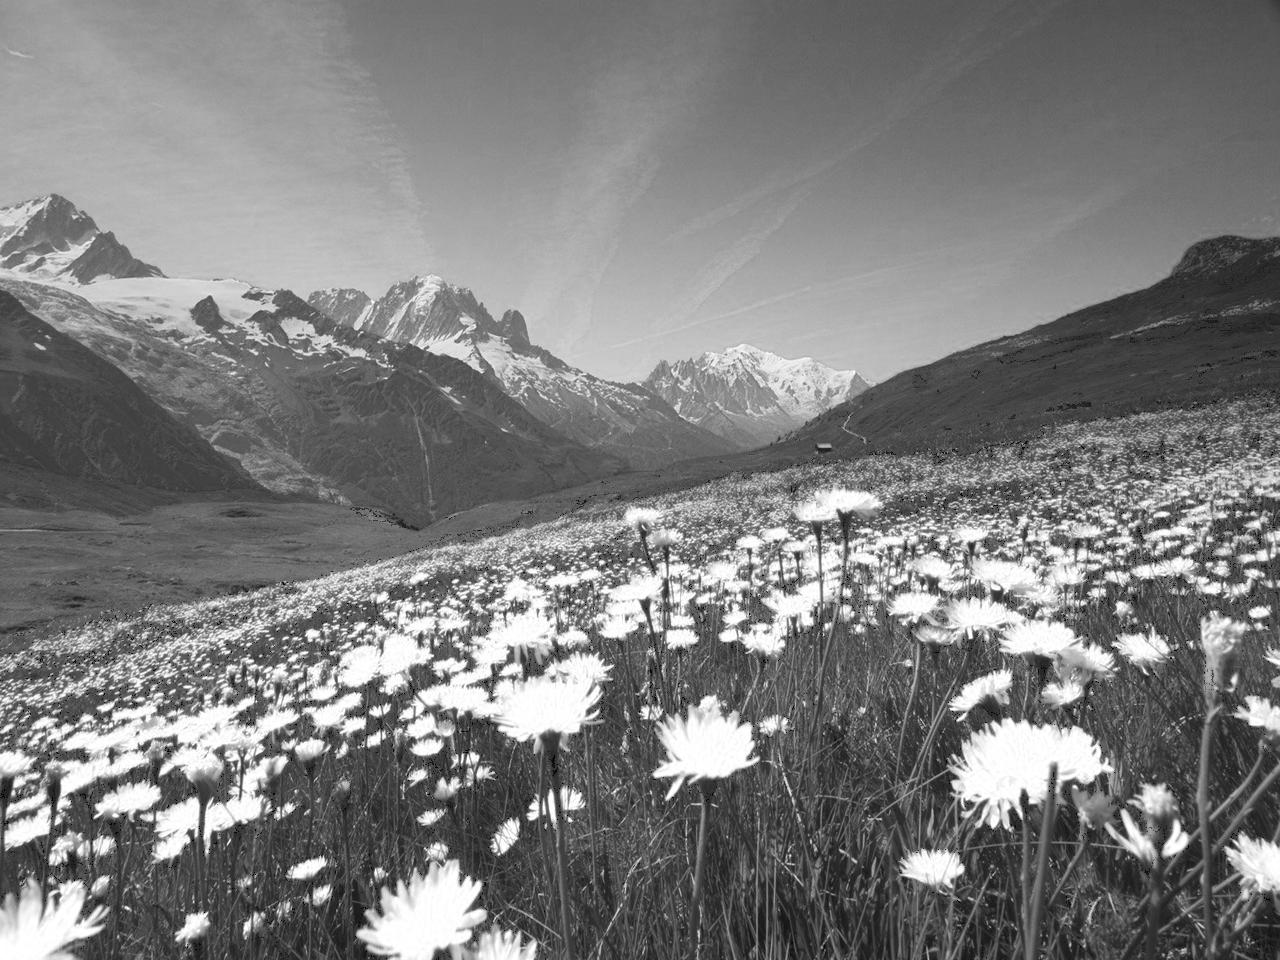
As an example, running this program on our picture of flowers gives us the picture on the right.
Instruction: If the input file to be read in does not exist, the program should print an error message and gracefully exit.
An example run of the program is shown here:
~$ ./gray
Input file: flowers.ppm
Output file: grayflowers.ppm
Image saved to grayflowers.ppm

~$ ./gray
Input file: nonexisting.ppm
Output file: output.ppm
Error: Input file not found
Submit this program with the command
~/bin/submit -c=SI204 -p=proj01 gray.cppDeadline: 2359, Feb 2
In this part, we'll do the part described in the introduction.
Your program should be in a file called
green.cpp.
If the foreground and background images are not the same size, your program should output an error message, rather than trying to create the new file.
The pictures in the tarball are for your own testing, but your program should work for any two images that are the same size as each other.
If one of the two files to be read in don't exist, the program should print an error message and gracefully exit.
An example run of the program is shown below:
~$ ./green
Foreground file: bill.ppm
Background file: flowers.ppm
Output file: billflowers.ppm
Image saved to billflowers.ppm

~$ ./green
Foreground file: bill.ppm
Background file: nonexisting.ppm
Output file: billflowers.ppm
Error: Input file not found
Note: you may notice a thin green line around your foreground image. This is from the blurred edge of not-fully-green pixels. Don't worry about this.
Submit this program with the command:
~/bin/submit -c=SI204 -p=proj01 gray.cpp green.cpp(don't forget the project coversheet!)
The problem with our program so far is that it only accepts pictures that are the same size. What if we want Bill somewhere other than in the middle of the picture?
Two of the pictures in the tarball you downloaded are cropped (billCropped.ppm and muleCropped.ppm), so we should be able to put them anywhere in a picture that is at least as big as they are.
shift.cpp that prompts the user for:
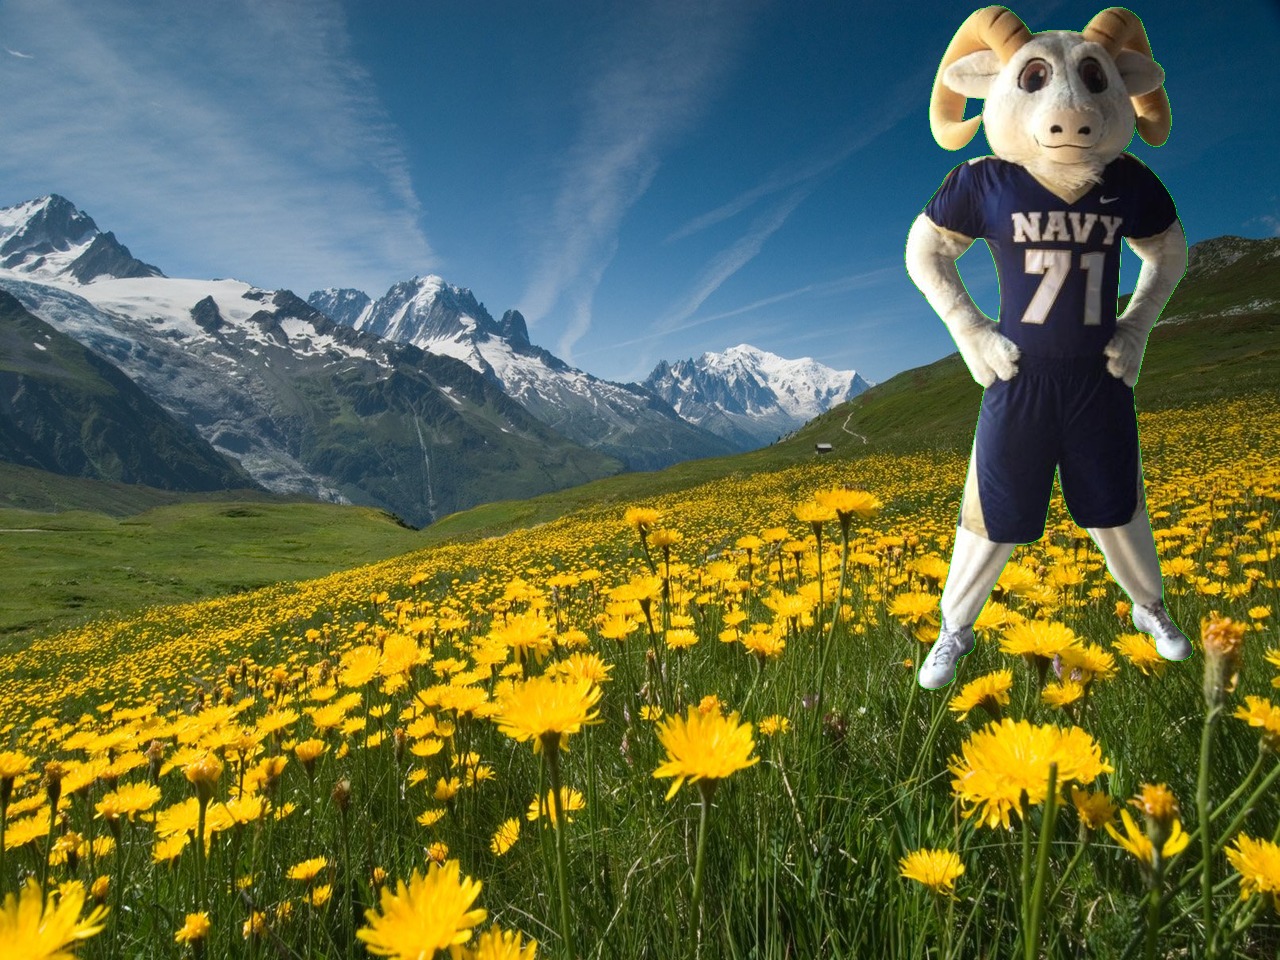
For example, the three pictures below have an (x-shift, y-shift) of (0, 0), (900, 0), and (0,200), respectively.
| 
| 
|
If the given x-shift or y-shift is so large that the foreground image would extend past the background image, an error message should be given, and no output image created. In addition, if one of the two images input does not exist, the program should print an error message and gracefully exit. An example run of the program is shown below:
~$ ./shift
Foreground file: billCropped.ppm
Background file: flowers.ppm
Enter offset (x,y): (900, 0)
Output file: bf_900_0.ppm
Image saved to bf_900_0.ppm

~$ ./shift
Foreground file: billCropped.ppm
Background file: nonexisting.ppm
Enter offset (x,y): (900, 0)
Output file: bf_900_0.ppm
Error: Input file not found

~$ ./shift
Foreground file: billCropped.ppm
Background file: flowers.ppm
Enter offset (x,y): (1200, 0)
Output file: bf_1200_0.ppm
Error: The foreground image goes past the background image
Submit with the command
~/bin/submit -c=SI204 -p=proj01 gray.cpp green.cpp shift.cpp(don't forget the project coversheet!)
Deadline: 2359, Feb 11
~/$ mv diff.sh.txt diff.sh
~/$ chmod 777 diff.sh
~/$ ./diff.sh grayflowers.ppm test_grayflowers.ppm
~/$ ./diff.sh muleflowers.ppm test_muleflowers.ppm
~/$ ./diff.sh mf_300_100.ppm test_mf_300_100.ppm
Here, grayflowers.ppm, muleflowers.ppm, and mf_300_100.ppm refer to your output files.
To turn a picture in some other format into a plain ppm on your VM, first install the needed software by running:
sudo apt-get install imagemagickOnce you have this software, if you have a picture
somePic.jpg (or any other image format), you can convert it
to a PPM with:
convert -compress none somePic.jpg somePic.ppmconvert -compress none -resize 640x480\! somePic.jpg somePic.ppmCutting out a foreground picture and putting it in front of a green screen requires Photoshop or its open-source equivalent GIMP, and the process is googleable, but longer than is appropriate for this page.